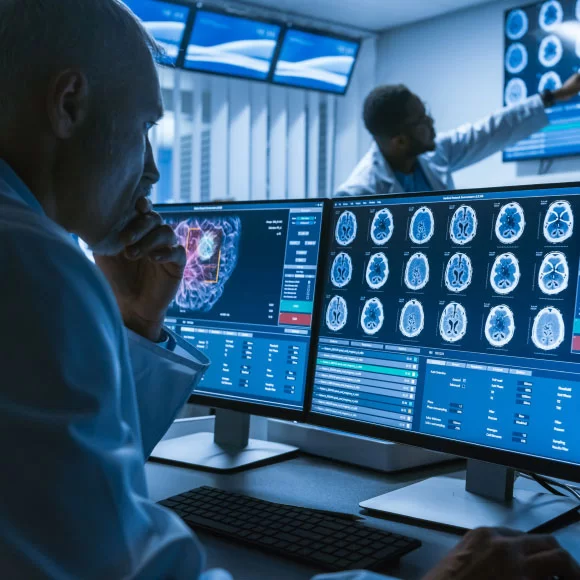
Video Processors transform video input signals to viewable content. The video sources are typically HDMI, DVI, or VGA being sent from media players, cable boxes, or computers for displaying on TVs or projectors. The term “Video Processor” encompasses an array of devices including Matrix Switchers, Amplified Splitters, Multiviewers, Video Walls, and Presentation Switchers.

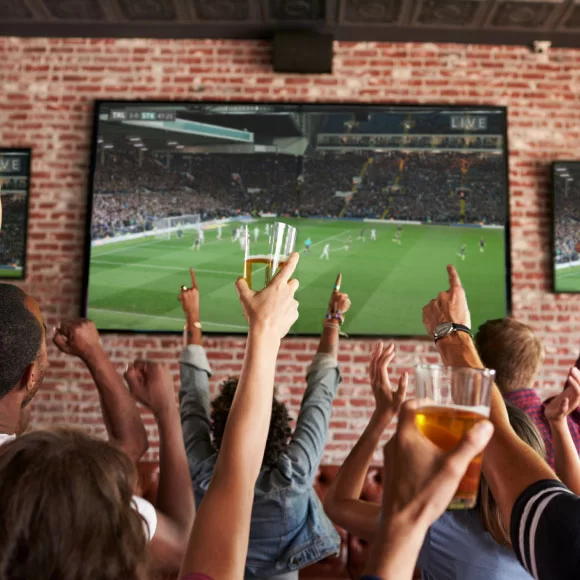
The most common device utilized in both commercial and residential applications is a Matrix Switcher capable of delivering 4K and 1080p video from multiple sources to multiple displays. These types of switchers can typically scale resolutions and accept audio connections like Digital Coax, SPDIF, and Analog RCA. A common application example would be a Sports Bar, Mall, or anywhere visual imagery can make an impact.
Amplified Splitters are designed to split a single video signal and distribute it to multiple displays, basically duplicating the same image across all displays. These devices are used in many retail shops, transportation facilities, and malls for advertising and Digital Signage. They can also be combined with Matrix Switchers to help with costs since Matrix Switchers are more expensive if they require more than eight TV displays.
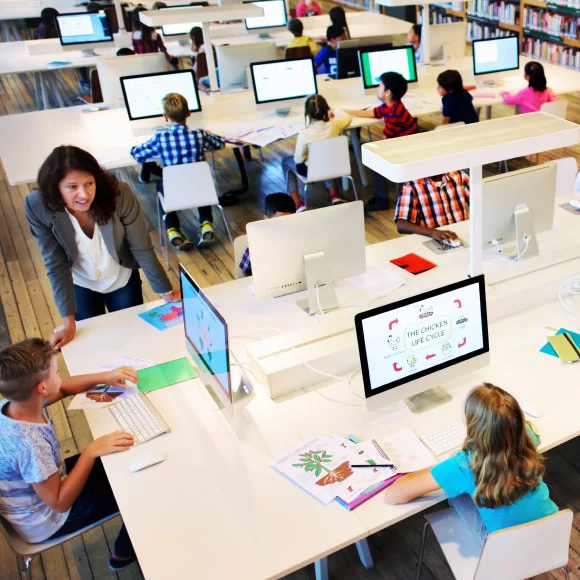
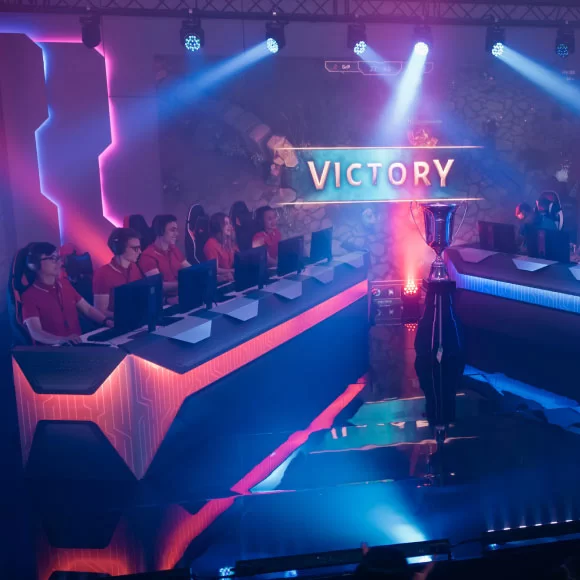
Multviewers are the way to go if the application requires a video processor showing multiple sources on a single display. There are typically two to six HDMI input connections and one HDMI output for the Display. This device is found in environments like business conference rooms, entertainment venues, restaurants, and schools.
Video Wall Processors typically accept one source signal for the purpose of displaying it on four TV displays, combined to make one large screen. There are different types of configurations and layouts including 2x2, 3x3, and 4x4 for entertainment purposes. But for those interested in digital signage where you’ll rotate displays either vertical and horizontal, most Video Wall Processors will also support layouts like 1x2, 1x3, 2x1, 3x1, and 4x1. Video Wall Processors are used in airports, sports bars, malls, schools, healthcare facilities, business offices, and residential homes.
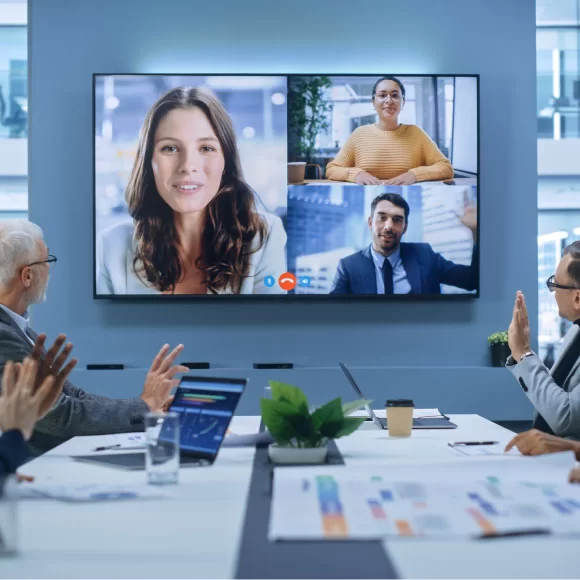
Conference rooms require video processors in the form of Presentation Switchers ideal for displaying materials transmitted from employees' computers. These switchers usually have HDMI and wireless connections using technologies like Miracast and Airplay that simplify connectivity. Some Presentation switchers offer USB-C, USB 2.0/3.0, DisplayPort, and even VGA connections for hosting a variety of devices.
APPLICATION 1
Matrix Switch Processor – Pool Hall Needs More TVs to Attract More Customers
THE SCENARIO
The owner of a Pool Hall wants to add four more TVs in addition to the four displays currently connected with cable boxes mounted to the top of the displays. The owner is hoping to put all the AV equipment in a closet consolidating everything in one location. Four of the displays are about 100 feet and the other four are about 30 feet in distance located on the other side of the wall. They also have a pair of ceiling speakers and want to add a new audio amplifier to the speakers for one source.

THE SOLUTION
Install the BG-UM-88ANS 8-input / 8-output HDMI Matrix Switch for distributing up to eight sources to eight displays. Connect the four displays using 40 ft HDMI cables from the Matrix Switcher’s HDMI outputs. The displays located at 100 ft will require HDMI extenders over CAT6 cabling since HDMI cables will not function over 50 ft.
Install four BG-EXH-50C HDMI extenders by connecting the Transmitters to the Matrix Switcher’s HDMI outputs. Mount the Receivers behind the displays. Run CAT6 cabling to the displays from the AV equipment location. Connect the CAT6 cables to the Receivers and Transmitters. Connect the display using HDMI cables to the Receivers.
For audio, connect the BG-AMP2X20 Audio Amplifier to the 3.5 mm analog audio port coinciding with the source. Follow the instructions in the manual on setting up the Matrix Switcher’s audio to follow the source video. Connect the speakers to the Audio Amplifier. Power up all the devices. To control the system, use the included IR remote control, Web UI, or a third party control system using the RS232 connections.

APPLICATION 2
Amplified HDMI Splitters – Retail Motorcycle Dealership Wants to Entertain Customers While They Shop
THE SCENARIO
Motorcycle riders enjoy watching videos about motorcycle riding. The owner of a dealership wants to set up four large 75-inch displays around the showroom to showcase all the types of bikes available. The source will be a computer server streaming these videos on an eight-hour loop.
The distance to the displays ranges from 100 to 150 ft from where the computer server is located. A standard HDMI Splitter would suffice, but for this application the distance is an issue since HDMI cables are limited to 50 ft. It’s recommended to use an HDBaseT HDMI Amplified Splitter using CAT6 cabling to bridge the distance gap.

THE SOLUTION
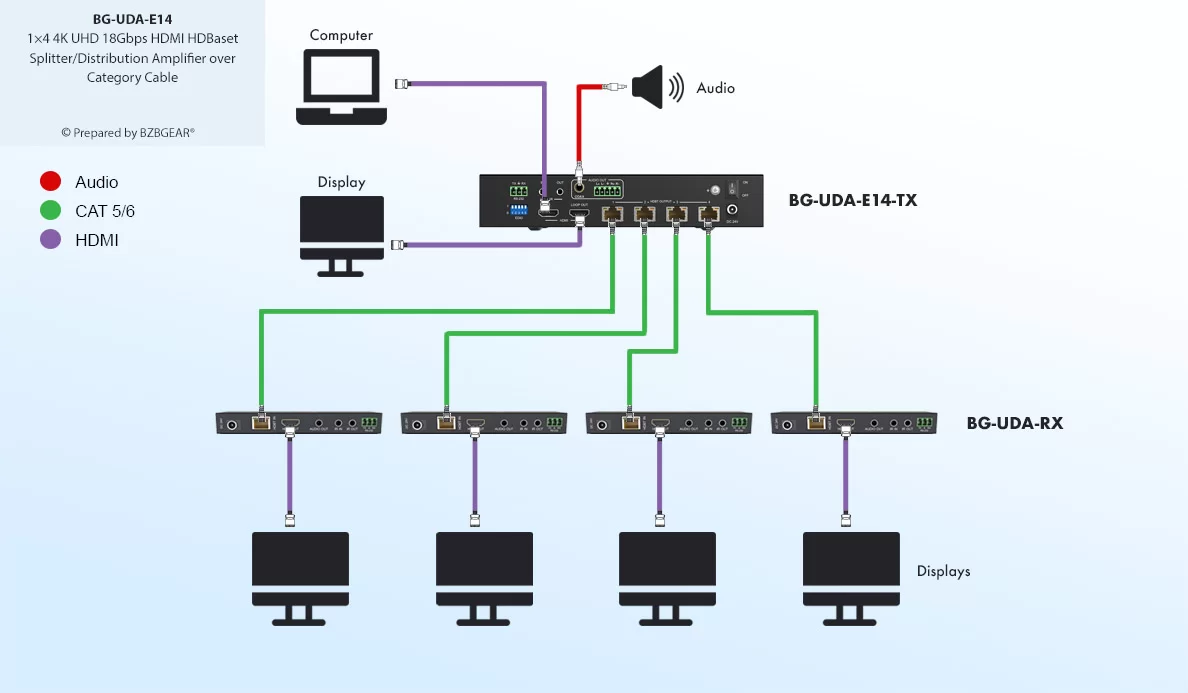
Since a standard Matrix Switch would require HDMI Extenders to reach these long distances over 50 ft, the best option is to install a BG-UDA-E14. This system integrates an HDBaseT transmitter within the main unit and provides four Receivers that will be located behind the displays.
Connect an HDMI cable from the computer server running the video loop to the HDMI input on the main unit. Install a CAT6 cable from where the computer server resides to each display. Connect the CAT6 cable to the RJ45 output on the main unit and then connect the CAT6 cable to each Receiver at the displays. Connect an HDMI cable from the Receivers to the displays. Connect the fifth local small monitor to the HDMI loopout using a short 15 ft HDMI cable. There is no need to connect an external power supply to the Receivers as they are equipped with PoE (Power over Ethernet) technology. PoE utilizes the CAT6 cable to transmit power, video, audio, and control.
Once all connections have been completed, power up all the devices for a successful transmission providing 4K@60Hz resolutions and optimized performance. Use the included IR remote, WebGUI, or RS232 connection for third party control systems.
APPLICATION 3
Multiview Processor – Video Game Party
THE SCENARIO
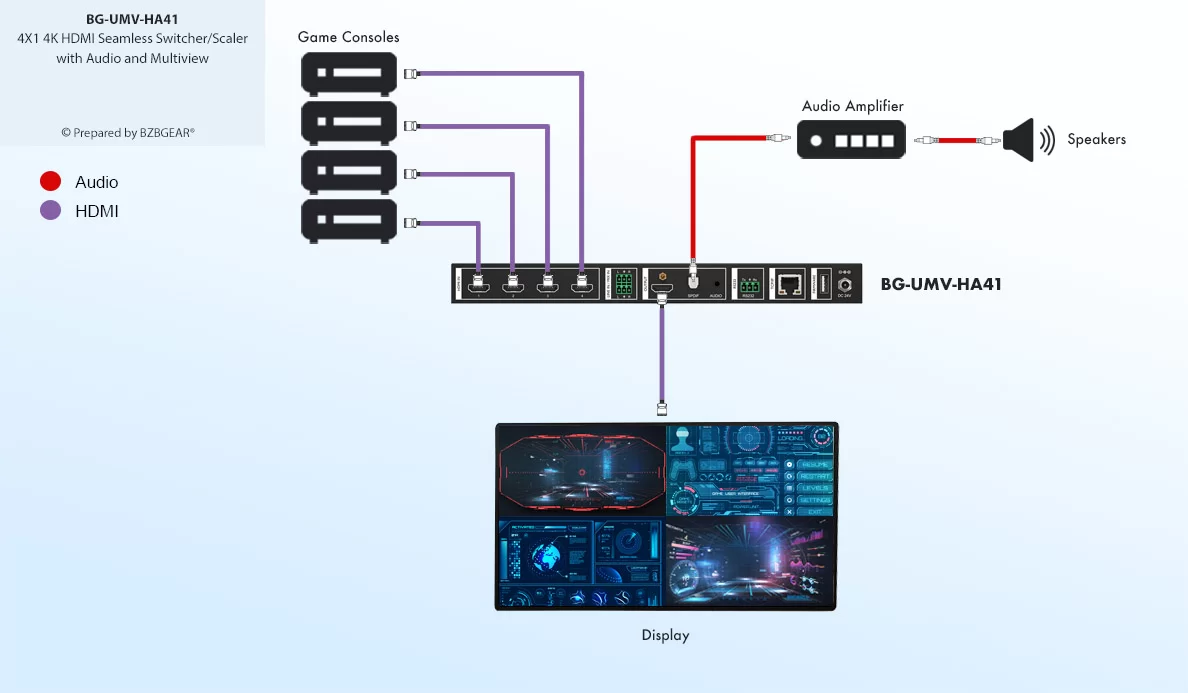
The world of video gaming has grown exponentially as a social activity. People regularly hold gaming parties nowadays. Carlos is no exception as he wants to host a video game party using his brand new Samsung 4K 86-inch TV. He’ll connect four game consoles via HDMI cabling to the display. His goal is to watch and play games with his friends simultaneously. He doesn't want to break the bank, but he needs a device that supports 4K sources for maximum performance. The game consoles will be located directly underneath the display on a stand using 9 ft HDMI cables.

THE SOLUTION
BZBGEAR offers a few options for Multiviewers at varied price levels. Typically this decision is based on budget and the seriousness of the gamers. The price for these devices ranges from $300 to $2500 depending on the required features like resolution, frame rate, connection types, audio embedding/de-embedding, and image layout configurations.
For Carlos’s purpose, the BG-UMV-HA41 is the best option for entertaining his fellow gamers. This Multiviewer supports 4K@30Hz which is sufficient for playing games at a social event. However, for more serious gamers, the BG-UHD-QVP-4X2 is a better option. It supports a higher Frame Rate (4K@60Hz), digital/analog audio, two HDMI outputs, 4K HDMI loopout, and a USB 3.0 FHD video capture for multiple displays offering mirrored imaging. See the product link for more details on other features a Professional Gamer could leverage with the BG-UHD-QVP-4X2 Multiviewer.
Back to Carlos’s best option, connecting the BG-UMV-HA41 is very simple. It only requires connecting the four gaming systems and one HDMI output to the display. After connecting the HDMI cabling and selecting the proper input on the TV, use the IR remote or front panel control to select between the layouts. For this application, Carlos will be selecting the 2x2 format layout. It’s that easy, just plug the unit's power in and entertain for hours!
APPLICATION 4
Video Wall Processor – University Wants to Live Stream Sports Events
THE SCENARIO
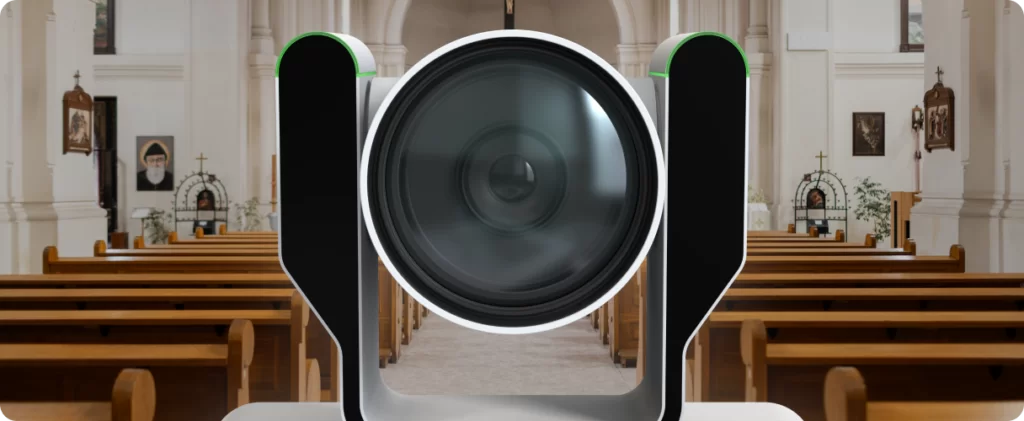
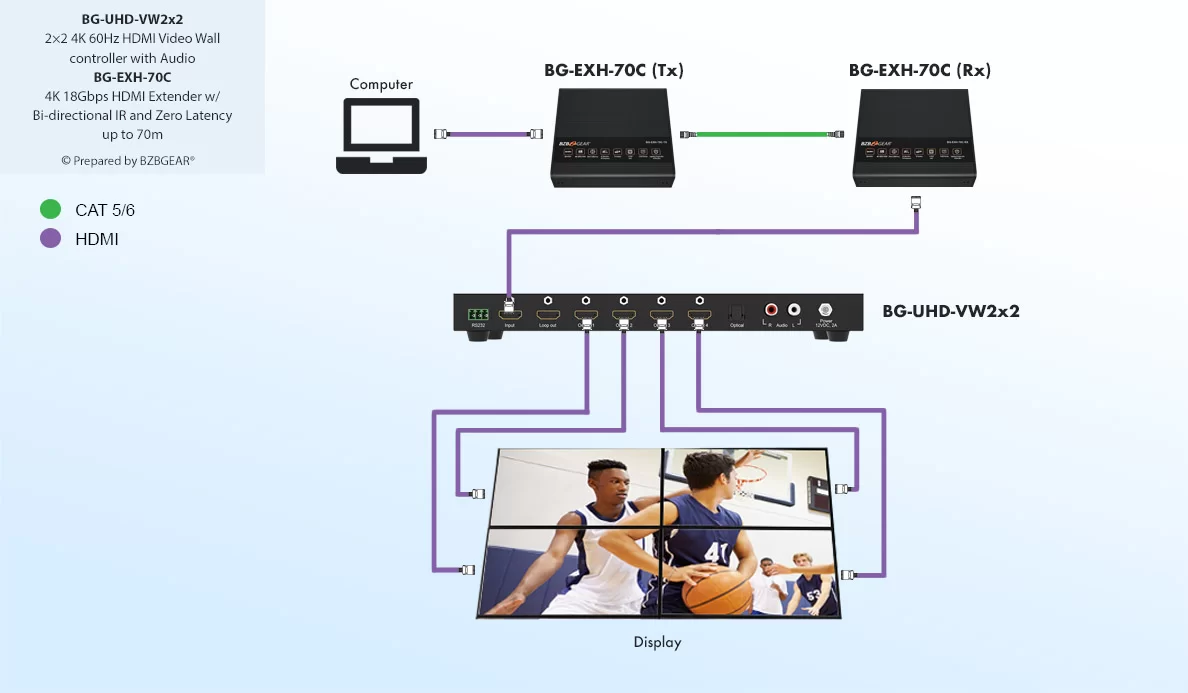
A local university is all about pride when it comes to their hard working basketball team. They want to Live Stream the games on YouTube and Facebook for students and parents that can’t attend. The coach wants a large video wall display in the gym for close ups created by the production team. They will use two PTZ cameras with NDI capabilities: one for closeups (BG-UPTZ-ND30X) and one for wide angle court shots (BG-UPTZ-ND12X). They’ll utilize a laptop with an i7 processor and vMix live streaming software armed with digital switching combined with Newtek NDI technology. The budget is tight though, so they can’t spend too much on a Video Wall Processor. They also researched that Video Wall displays are much more expensive than standard deals found at local retailers.

THE SOLUTION
Mount four consumer-based 86-inch LCD panels providing a 25 ft x 15 ft viewing area, maximizing the wall space and viewing area. Save money by purchasing consumer-based displays instead of specifically designed Video Wall displays. But you will be required to install a Video Wall processor capable of flipping or inverting independent images due to the problematic bezel obstructions found at the bottom of the displays, usually in the form of a logo or IR sensor.
For this project, BZBGEAR recommends the BG-UHD-VW2x2 Video Wall Processor. This amazing unit allows the user to flip the images and layouts with a press of a button on the IR remote control.
Now, the question arises: what is the most convenient location for the Video Wall Processor? Since there is only a single feed from the source computer and four HDMI outputs to the display, it’ll be easier to extend the source transmission using a single HDMI cable or a Category cable extender. For this example, since HDMI cables have a limitation of 50 ft, the installer will integrate the BG-EXH-70C for the source transmission to the processor for the four displays using 9 ft HDMI cables. The Video Wall Processor requires the included power supply to be connected behind the displays.
Mount the BG-UHD-VW2x2 behind the displays. Run a CAT6 cable from the computer location where the Live Streaming program resides. Connect an HDMI cable to the Transmitter, then plug in the CAT6 cable for video, audio, and power to the same unit. Connect the TVs to the Receiver unit using HDMI cables. Plug in power and the CAT6 cable from the Transmitter to the Receiver’s RJ45 port. Power up all devices including the source computer. Use the IR remote to change the layout to 2x2 and use the preconfigured presets for bezel adjustment to properly fit the image in the area. Stand back and marvel at stunning imagery, especially when using BZBGEAR PTZ cameras providing live broadcasting superiority.
APPLICATION 5
Presentation Switcher – Conference and Present Without Limitations
THE SCENARIO
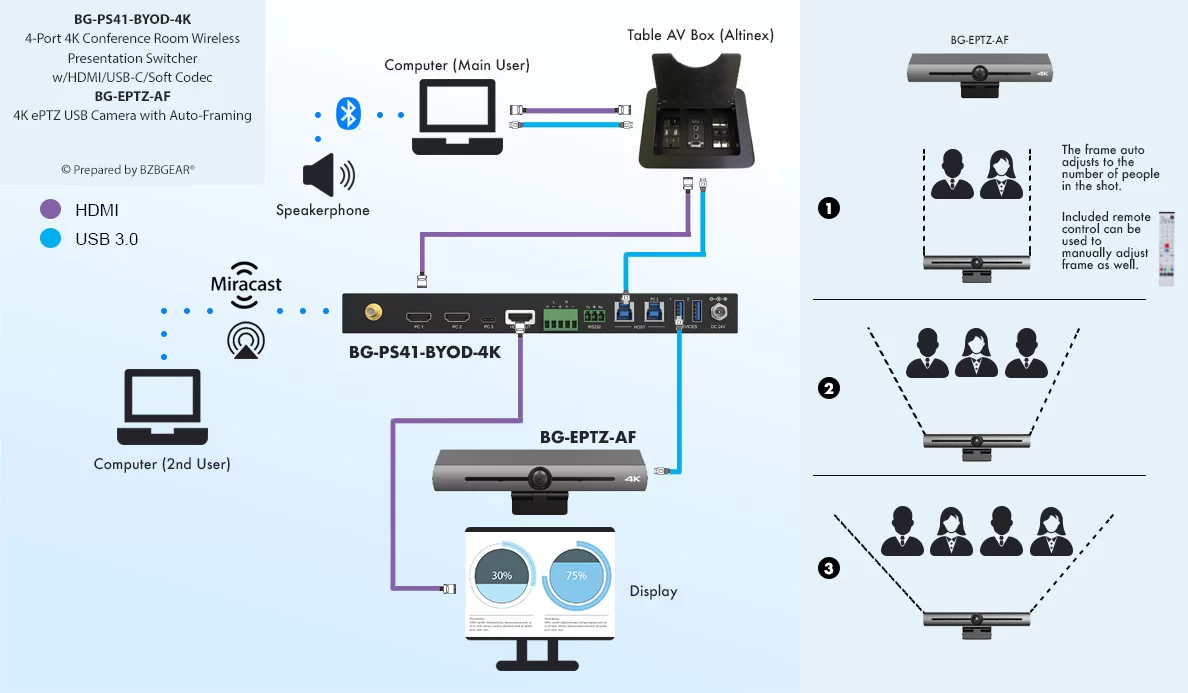
A small clothing company has a medium-sized conference room. The designer wants employees to present their fashion ideas and spreadsheets on the main display. The company has a mixed environment of devices including Macs, PCs, and phones of all types. There is also a new BG-EPTZ-AF USB 3.0 Auto-Framing camera along with a Bluetooth speakerphone in the room they want to incorporate for Zoom and Skype conference calls on a PC for video conferencing.
What is the best way to set up conferencing on one computer, have employees connect wirelessly with their devices without cable mess, and use the PTZ camera for conferencing?

THE SOLUTION
The BG-PS41-BYOD-4K Wireless Switcher connects Macs, PCs, phones, and iPads for sharing information on the display, engaging the room and prospective clients. When combined with the BG-EPTZ-AF Auto Framing Conference Camera, the communication and ease of connections greatly assists in presenting and conferencing.
Using the Cable Management Nook on the conference table, connect the Video Conference Computer using both HDMI and USB 3.0 cable connections. Connect the HDMI and USB cable coming from the Nook to the BG-PS41-BYOD-4K Switcher. The computer's USB cable plugs into the USB-B host port on the switcher. The HDMI cable coming from the Nook/Computer plugs into the HDMI 1 input. Connect the BYOD switchers HDMI output to the display’s Input 1.
Be sure to connect the BG-PS41-BYOD-4K Switcher to the LAN using the WiFi settings in the manual. No ethernet cable is required as this is a wireless setup.
Plug the Auto Framing Camera into the USB Type-A port on the Wireless Switcher. Connect the speakerphone using USB 2.0 or Bluetooth to the computer. Go to the settings to select the device under the Bluetooth properties for connection. Once all devices are running, remember to choose the proper USB device in the conference software for both audio and camera.
Once the switcher is set up, plug in power and turn on the devices. Select input HDMI 1 for hosting conference calling.
Video Processors provide the power to excel and entertain, but choosing the proper device is best if left to the Professionals.
BZBGEAR recommends consulting with a Sales Agent or an Authorized Dealer/Reseller prior to purchasing.