We will begin this guide under the assumption that you have already established a connection to your camera on your local network. If you have not please refer to this guide for Windows, or this guide for Mac.
First you will need to download and install in the following order, OBS Studio, NDI Tools, and the NDI Plugin for OBS Studio.
*Be sure to install all components of the NDI Tools package*
Once everything is downloaded and installed you need to log in to your cameras web browser interface to enable the NDI stream.
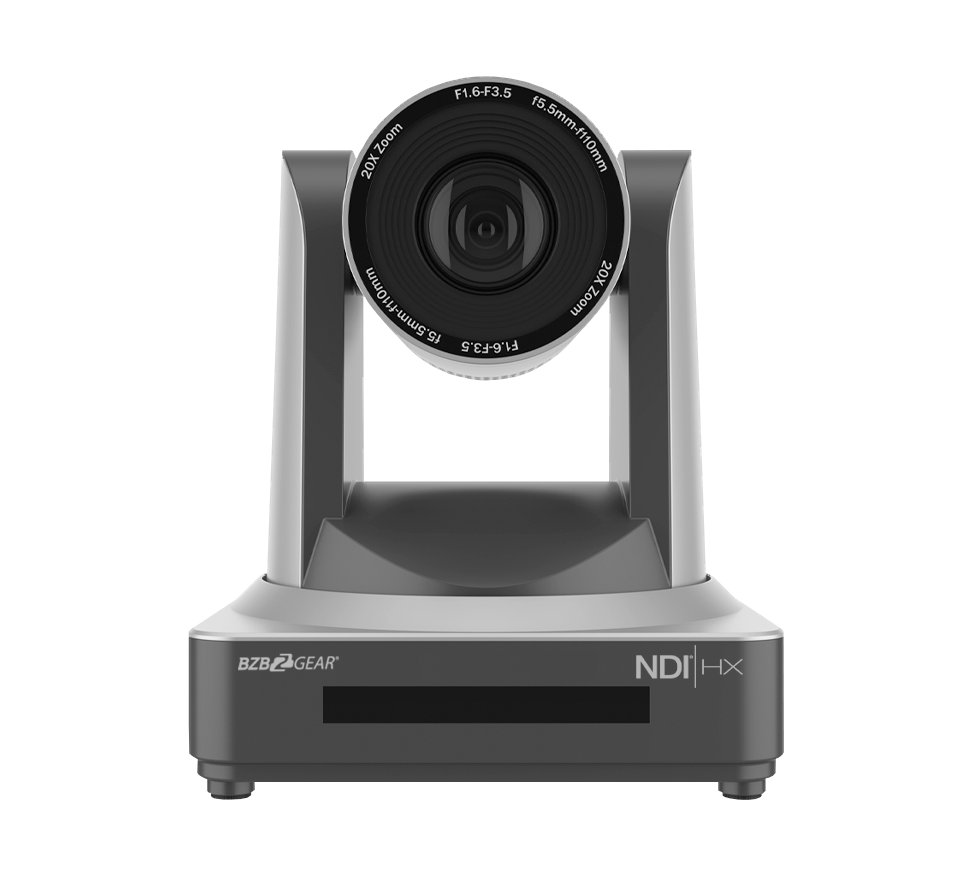
Navigate to Configuration -> NDI and check the box for NDI Enable. Choose an NDI Name that will be easily recognizable and set your NDI Group, if desired. Click Save and reboot the camera.
*The camera MUST be rebooted for these settings to apply!*
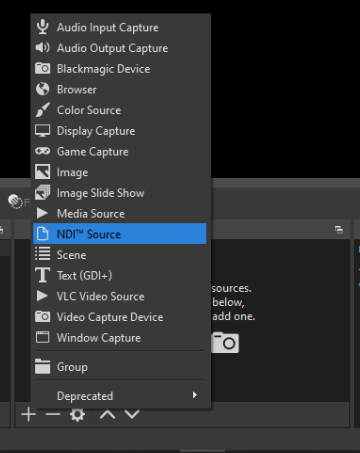
Open OBS Studio. Click + to add a new source in the Sources window.

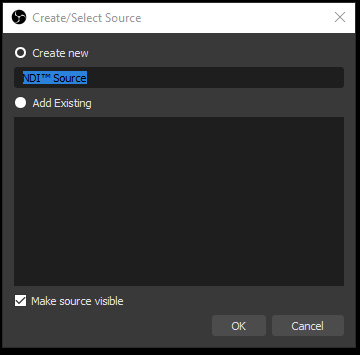
Name your NDI Source, make sure the “Make source visible” box is checked, and click OK.
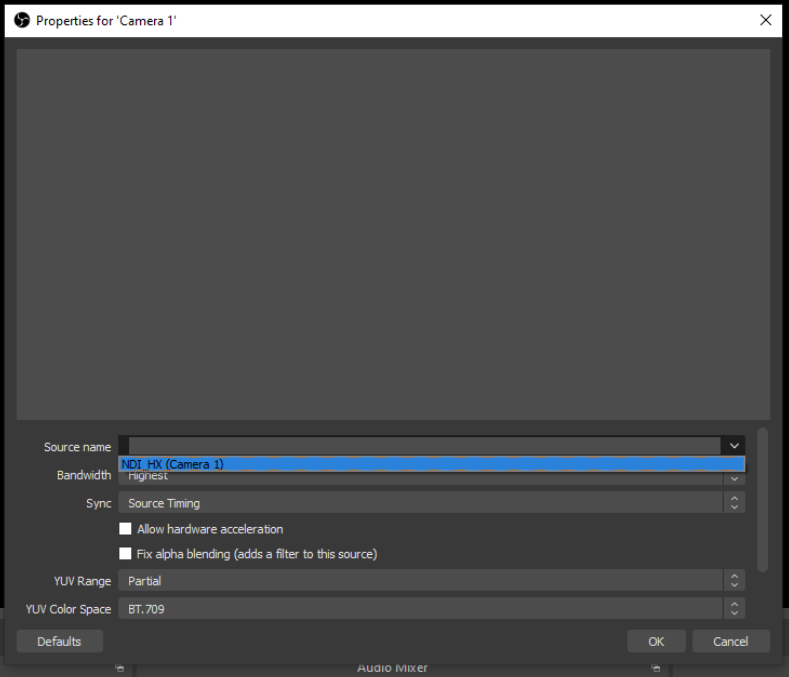
When the Properties screen appears select the pull-down menu for Source name and select your NDI camera. The name should appear as NDI_HX (Your camera name). Click OK to close the Properties window.
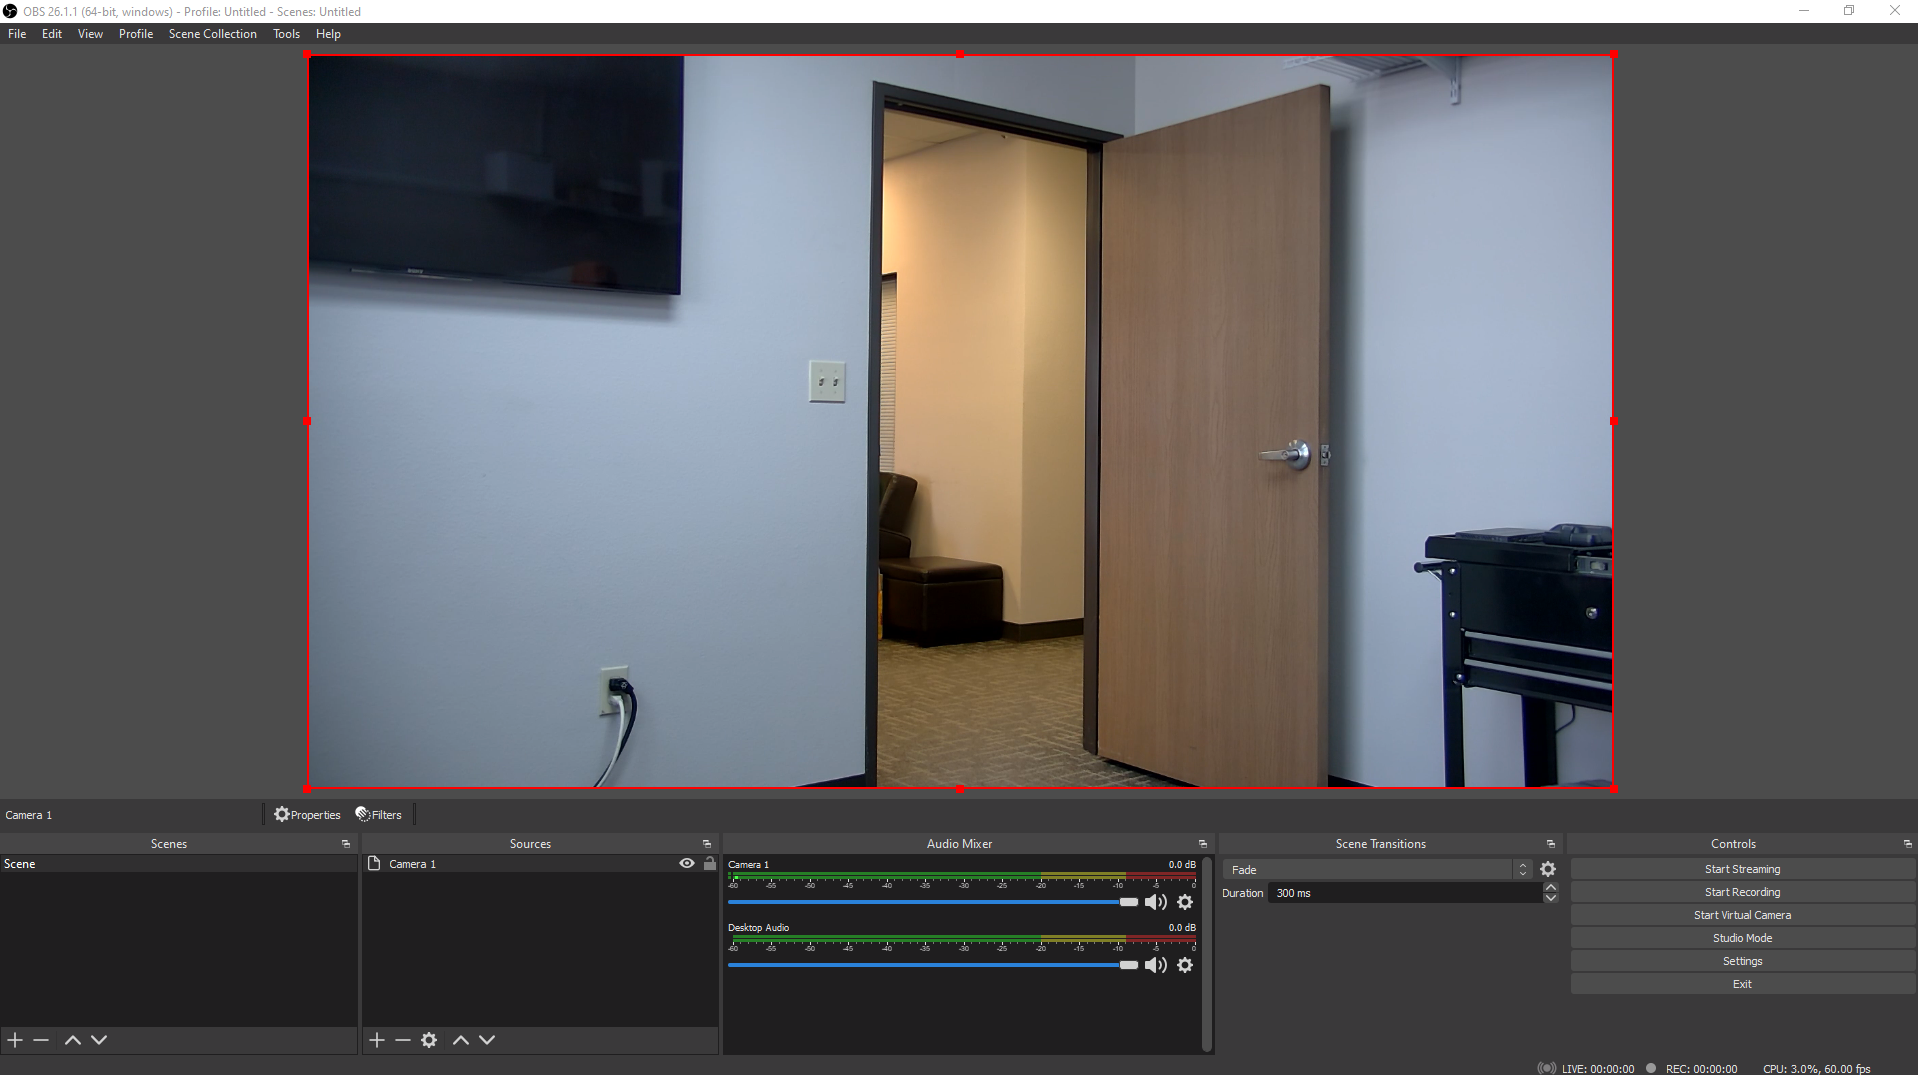
Highlight your camera in the sources window and your NDI feed should appear.
