







How to Livestream a School Game With One Camera
A simple setup guide for athletic departments, booster clubs, and student media teams
Somewhere right now, a grandparent two states away would love to watch their grandkid's Friday night game. So would the parent working a late shift, and the alum who never misses a season. A livestream makes that possible, and a lot of schools hold off because they picture a TV truck, five camera operators, and a budget nobody has.
Here's the good news: you don't need any of that. One well-placed camera, a clean audio feed, and a reliable connection will get you a stream your community will actually watch. Let's break it down.
Check Your Streaming Rights First
This step costs nothing and saves a lot of headaches. Many state athletic associations have rules about who can stream which games, and postseason games are often under an exclusive deal with a network partner. Regular-season home games are usually more open, but policies differ from state to state and sometimes from conference to conference.
Before you buy anything, talk to your athletic director and look up your state association's media policy. Knowing which games you're allowed to stream tells you how much gear you really need.
Find the Best Seat in the House
With only one camera, where you put it matters more than which camera you buy. The best spot is high and centered: the press box at the 50-yard line, or the top row of the bleachers at half-court. From up there, you can see both ends of the field and the players don't block each other.
Think of it like the best seat at a concert. Too close and you're craning your neck. Too far to the side and half the stage is hidden. Centered and a little elevated, you see the whole show.
A few more things to check when you scout the spot:
- Sun and windows. For an afternoon game, make sure you're not shooting into the sun. In a gym, watch for bright windows behind the action.
- Power and network. Is there an outlet and an Ethernet jack within reach, or will you need to run cable?
- Distance. Measure, or at least estimate, how far you are from the far end of the field. That number decides how much zoom you need.
Choose a Camera That Can Follow the Action
A single-camera stream is basically one long, wide shot that follows the ball. To do that well, your camera needs two things: enough zoom to frame the play from your position, and smooth, steady movement.
That's why many schools choose a pan-tilt-zoom (PTZ) camera for this job. The camera's motors do the panning and zooming, so the operator can sit comfortably with a controller instead of standing behind a tripod for four quarters. The motion stays smooth, which matters a lot to someone watching on a phone.

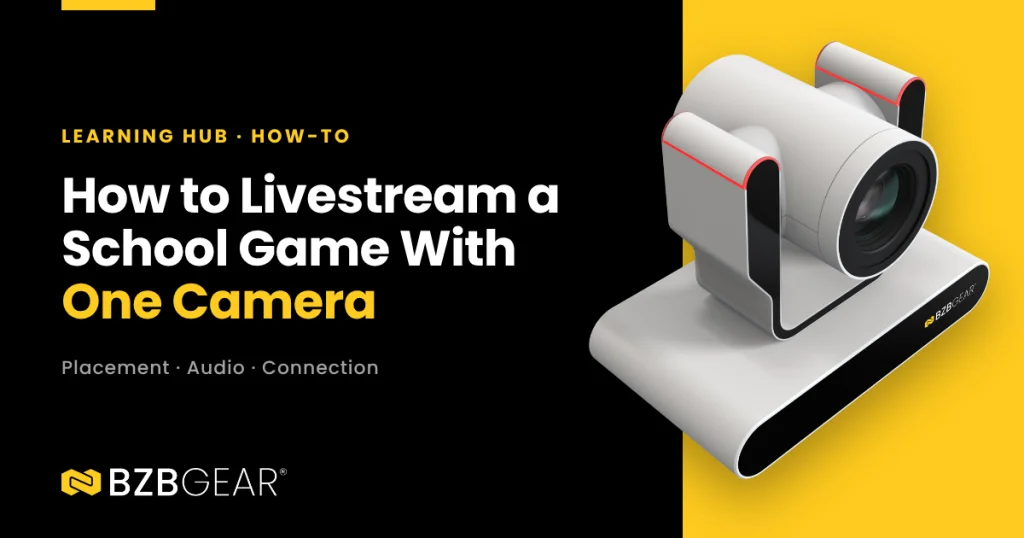
The BZBGEAR BG-ADAMO-JR is a strong fit for a one-camera setup. It shoots up to 1080p60 and comes with 12X, 20X, or 30X optical zoom. A gym camera at half-court may only need 12X, while a camera high in the stands of a big gym benefits from 20X or 30X. Best of all for a small crew, it can stream to your platform directly from the camera, no capture card or computer needed. You just enter the server address and stream key from YouTube or Facebook in the camera's web settings. One network cable with Power over Ethernet (PoE) carries power, video, and control. The ADAMO-JR is built for indoor use, so it's a natural fit for gyms. For outdoor fields, keep it inside an enclosed press box.
One Operator, a Few Simple Rules
Running a single camera is a skill, but it's an easy one to learn. Here's the thing: the most common beginner mistake is zooming too tight. When the shot only shows the player with the ball, viewers can't see the play develop, and every quick pass means a frantic chase across the field.
Keep your shot wide enough to show most of the players involved in the play, and let the action move within the frame. Pan smoothly and avoid constant zooming in and out. Save tight shots for natural pauses, like a free throw, a timeout, or a player walking off the field.
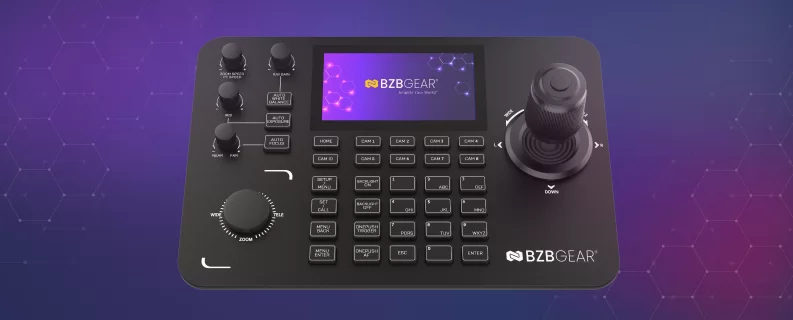
A joystick controller makes all of this easier. The BZBGEAR BG-Commander-G2 gives your operator hands-on pan, tilt, and zoom control, with variable speed so you can set movements slow enough to look smooth on stream. It's PoE-enabled for single-cable setup, and its 5-inch touchscreen keeps setup and monitoring simple. It also has room to grow. If you add a second or third camera next season, the same controller handles them.
Before the game, save a few presets in the camera, such as a wide shot of the full field and a shot of the scoreboard. Showing the scoreboard every few minutes is the easiest way to keep viewers in the loop if you don't have score graphics yet.
Don't Forget the Audio
Fans will put up with a soft picture far longer than they'll put up with silence or wind noise. At a minimum, capture the crowd and the sounds of the game, so the stream feels like you're in the stands.
If you can, add commentary. A pair of students with headset mics, or even a parent volunteer who knows the team, makes a huge difference. They can call out names, numbers, and the score, which helps viewers who can't read the scoreboard on a small screen. A small audio mixer can combine the announcer mics with a crowd mic, then feed the result into your camera's audio input. The ADAMO-JR, for example, has a 3.5mm line input for exactly this. Just remember to turn on audio in the camera's settings so it's embedded in your stream.
Plug In and Test the Connection
Wi-Fi in a packed gym or stadium is unreliable, because hundreds of phones are fighting for the same signal. Whenever you can, connect with an Ethernet cable. If the venue doesn't have a network jack nearby, ask your IT team about running one before the season starts.
Two more tips. First, test your upload speed from your camera position during an actual event, not on an empty afternoon. Second, check with IT that the school network allows outbound streaming. Some school firewalls block streaming traffic by default, and you don't want to find that out at kickoff.
Do a Dress Rehearsal
Pick a low-stakes game, like a JV matchup or a scrimmage, and run the whole stream from start to finish. Watch it back on a phone. Is the shot wide enough? Can you hear the announcers over the crowd? Did the stream stay connected?
Fix what you find, write a simple one-page checklist, and you're ready for the big game.
Start Simple, Then Grow
At the end of the day, a great school livestream isn't about having the most gear. It's about one steady, well-placed camera, clear audio, and a connection you can count on. Start there, and you can add more cameras, graphics, and replays as your program grows.
Here at BZBGEAR, we love helping schools bring their games to families near and far. Not sure what your venue needs? Reach out to our team and we'll help you plan your setup. To see the full lineup of PTZ cameras and controllers, visit BZBGEAR.com.


8.00 a.m. - 5.00 p.m. (PST)
10.00 a.m. - 3.00 p.m. (PST)
(by appointment only)
