







How to Link Your BZBGEAR Camera with Iris
Iris is a cloud-based camera control platform, and many BZBGEAR cameras are Iris-Enabled — meaning they can connect directly to an Iris Studio using the Iris Enabled Protocol, right from the camera's own web interface. No separate plugins or complicated configuration; once linked, your camera stays connected to your Studio even if it moves to a different network. This guide walks you through linking your BZBGEAR camera to Iris.
Let's break it down.
Before You Begin
Make sure you have the following ready:
- An Iris account (you can also create one during the linking process)
- Your BZBGEAR camera powered on and connected to your network
- The camera's IP address (we'll cover finding it below)
- The camera's login credentials (username and password) — you'll need these to open the camera's web interface and again to authenticate the link. If you don't know them, check the camera's manual, the in-box documentation, or BZBGEAR.com.
- An Iris Bridge on the same local network and subnet as the camera and the computer you're linking from
- Google Chrome is recommended for the smoothest experience (other modern browsers may work)
Note: Iris linking works with BZBGEAR's Iris-Enabled models. If your camera doesn't show the Iris logo in its web interface (covered below), it may need a firmware update or may not support the Iris Enabled Protocol. You can confirm your model on Iris's "Cameras That Work with Iris" compatibility list.
Part 1: Find Your Camera's IP Address
If you don't already know your camera's IP address, run a network scanner on the same subnet as the camera — tools like Angry IP Scanner or Fing work well. Make a note of the address; you'll type it into your browser in the next step.
Part 2: Open the Camera's Web Interface
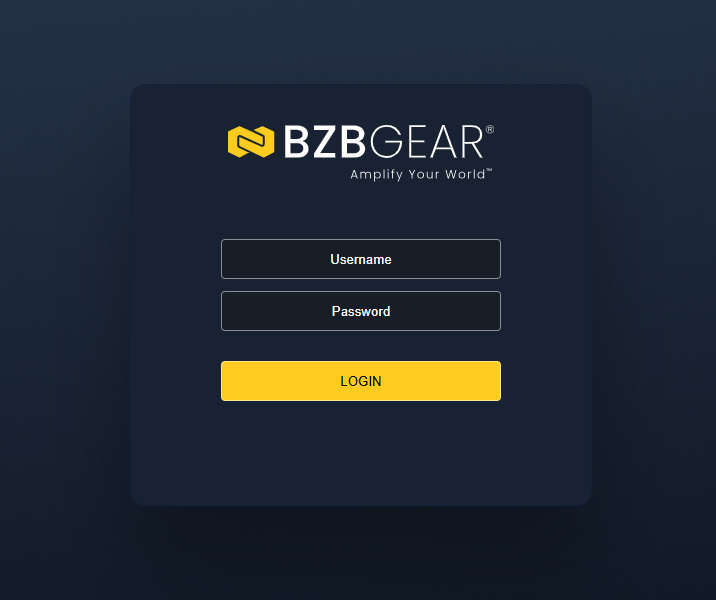
In your web browser, enter the camera's IP address in the address bar and press Enter. When the camera's web interface loads, log in with your BZBGEAR camera credentials.
Part 3: Open the Iris Linking Panel
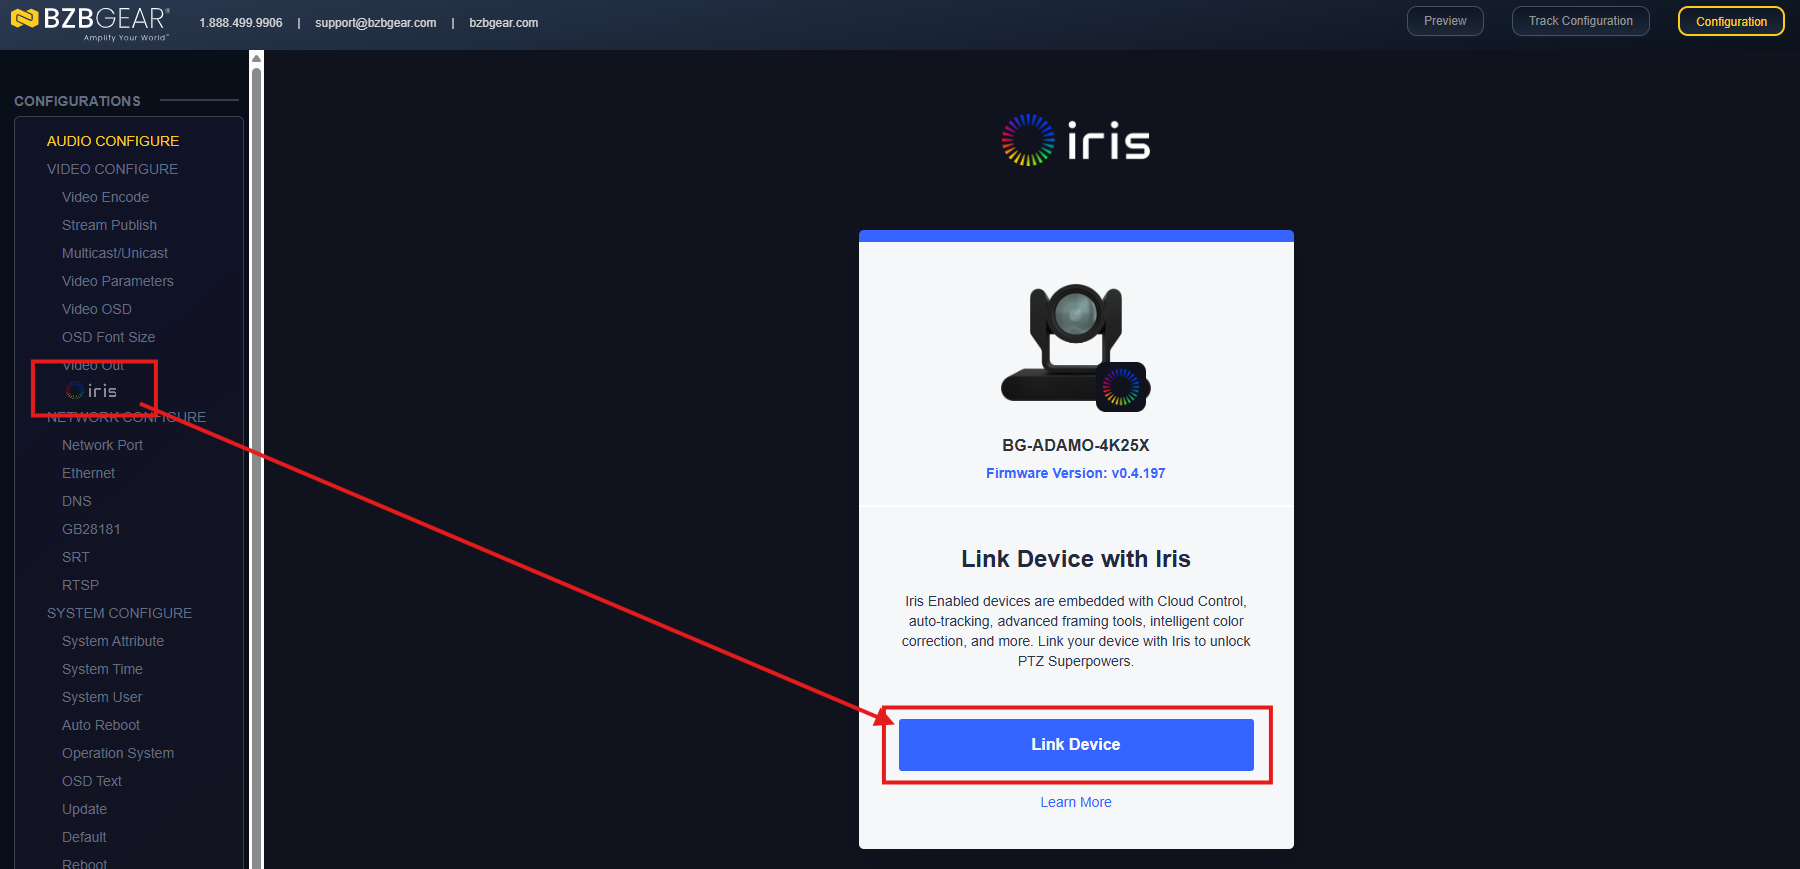
Inside the camera's web interface, click the Iris logo. A panel appears showing your camera along with a "Link Device with Iris" button. Click it to begin.
Part 4: Sign In to Iris
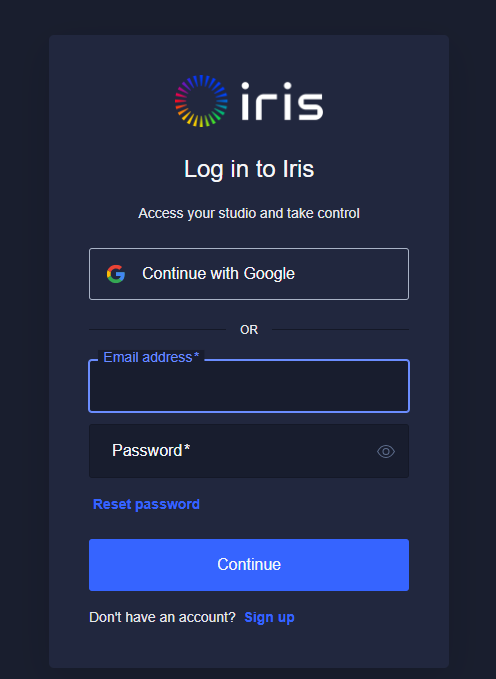
If you already have an Iris account, sign in with your Iris email and password. If you're new to Iris, you can create an account right here with an email and password.
Part 5: Choose or Create a Studio
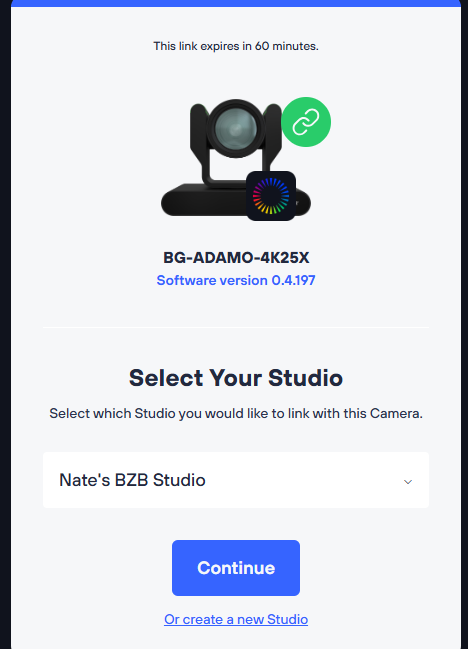
Select the Studio you want to link the camera to from the dropdown. If you don't have one yet, click "Create New Studio" and give it a name.
Part 6: Authenticate the Camera
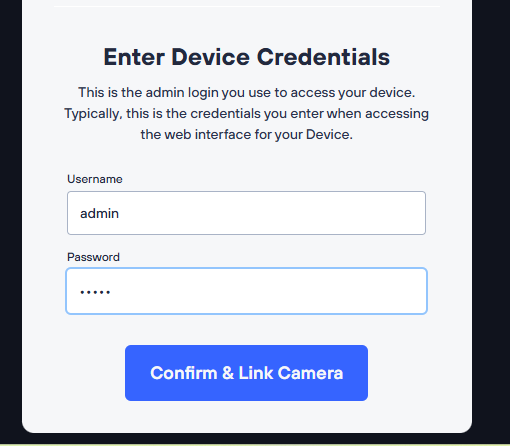
To validate the camera and start the link, re-enter the same BZBGEAR camera credentials you used in Part 2. This confirms the camera is yours and authorizes the connection.
Part 7: Confirm the Link
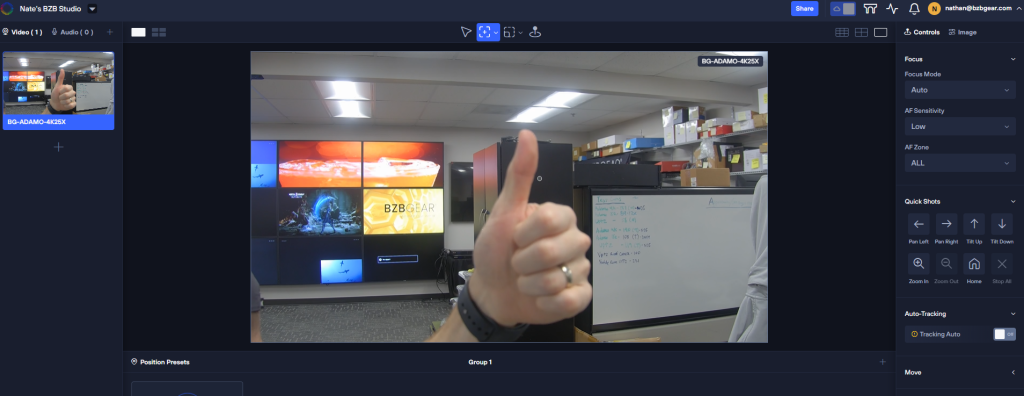
Once authentication succeeds, Iris Studio opens automatically in a new tab, and your BZBGEAR camera should appear live and online in the Studio dashboard. That's it — your camera is now linked to Iris.
A Few Things to Keep in Mind
- A camera can be linked to one Studio at a time. Linking it to a new Studio removes it from the previous one.
- Once linked, your camera reconnects automatically after a power cycle, a move, or a network change — as long as it has an internet connection, there's no need to relink.
- Linking doesn't change your camera's settings.
- Make sure your network isn't assigning duplicate IP addresses, and keep your camera and Iris credentials handy for future access or unlinking.
Troubleshooting
No Iris logo in the camera's interface? The camera may need a firmware update, or the model may not support the Iris Enabled Protocol — check the compatibility list.
Can't find the camera's IP address? Run Angry IP Scanner or Fing on the same subnet as the camera.
Linking fails? Double-check the IP address and login credentials, and confirm the Iris Bridge and your computer are on the same subnet as the camera.


8.00 a.m. - 5.00 p.m. (PST)
10.00 a.m. - 3.00 p.m. (PST)
(by appointment only)
