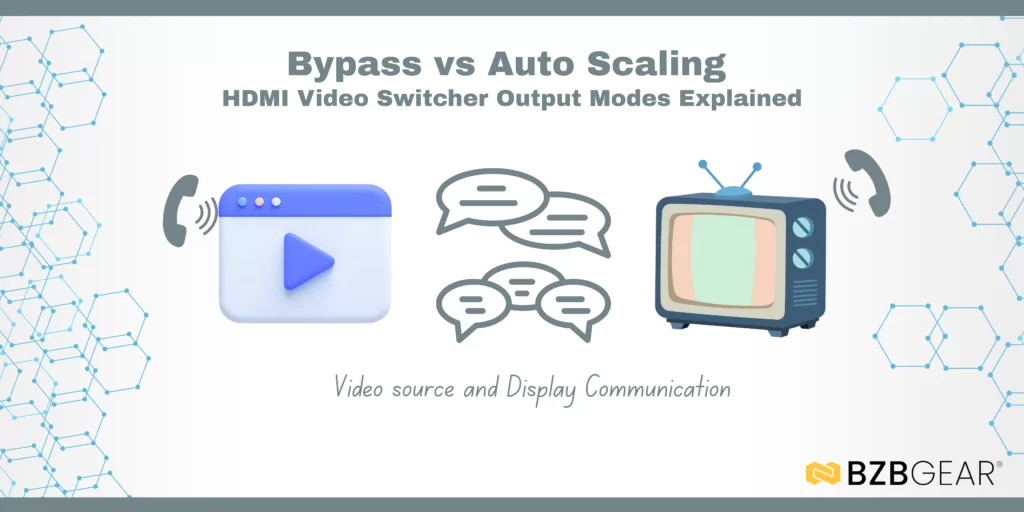
Bypass vs Auto Scaling Modes on HDMI Video Switchers
When designing an HDMI video system, one of the most important but often overlooked settings is the output scaling mode of the video switcher. The most FAQs I get are around the options Bypass and Auto.
Understanding how these modes work will help ensure system compatibility, reduce switching issues, and deliver the best possible viewing experience.
What Is Video Output Scaling?
Video output scaling determines whether a switcher processes the incoming video signal or passes it through unchanged before sending it to the display.
Scaling affects:
- Resolution (1080p, 4K, 8K)
- Frame rate (30Hz, 60Hz, 120Hz)
- Display synchronization when switching sources
- Overall system compatibility
The two most common approaches—Bypass and Auto—serve very different purposes.
Bypass Mode (Native Pass-Through)
Bypass mode sends the HDMI signal from the source to the display without any processing.
How Bypass Mode Works
- The switcher does not scale or convert the video
- Output resolution, frame rate, and color format match the input exactly
- The display must support the source’s signal
Example
- Input signal: 1080p @ 60Hz
- Output signal: 1080p @ 60Hz
No changes are applied.
When to Use Bypass Mode
- All sources output the same resolution
- Displays fully support every source format
- Low-latency performance is critical
- Professional AV, broadcast, or gaming environments
- Troubleshooting signal issues
Advantages
- Zero processing delay
- Preserves original signal quality
- Ideal for latency-sensitive applications
Limitations
- Mixed-resolution sources may cause screen blanking
- Displays may lose sync when switching inputs
- Not suitable for systems with varied source formats
Auto Mode (Or Auto Scaling)
Auto mode actively scales all incoming sources to match the connected display’s preferred resolution, as defined by its EDID.
How Auto Mode Works
- The switcher reads the display’s EDID
- All input signals are converted to a single output resolution
- The display always receives a consistent format
Example
- Display EDID: 4K @ 60Hz
- Source 1: 1080p > Output: 4K
- Source 2: 720p > Output: 4K
When to Use Auto Mode
- Multiple sources with different resolutions
- Consumer TVs or projectors
- Conference rooms, classrooms, and home AV systems
- Installations where seamless switching is important
Advantages
- Stable output resolution
- Faster, smoother source switching
- Improved compatibility across displays
- Reduced screen flicker or signal dropouts
Limitations
- Minor processing latency (typically negligible)
- Output quality depends on scaler performance
- Not ideal when exact pixel mapping is required
Bypass vs Auto: Key Differences
|
Feature |
Bypass Mode |
Auto Mode |
|
Video Processing |
None |
Active scaling |
|
Output Resolution |
Matches source |
Matches display |
|
Latency |
Lowest possible (Set by user) |
Slight (minimal) |
|
Mixed Source Support |
Limited |
Excellent |
|
Seamless Switching |
No |
Yes |
|
Best For |
Pro AV, gaming, testing |
Commercial & residential AV |
Which Mode Is Right for Your Setup?
Choose Bypass Mode if:
- All sources use the same resolution
- Signal purity and low latency are critical
- You are troubleshooting HDMI issues
- The system environment is controlled and predictable
Choose Auto Mode if:
- You have mixed-resolution sources
- The display is sensitive to resolution changes
- You want smooth, user-friendly switching
- System reliability and compatibility are the priority
8.00 a.m. - 5.00 p.m. (PST)
10.00 a.m. - 3.00 p.m. (PST)
(by appointment only)