


How to Network the BG-ADAM0-4K with IR Remote
The biggest hurdle most people face when installing their IP-enabled camera is getting it onto their local network. Now with the BD-ADAMO 4k camera, you can network this camera simply with the IR remote.
*Before beginning consult with your Network Administrator. Your network setup may differ from the examples provided. *
To begin, plug your BG-ADAMO camera to your local network via an ethernet cable. You can plug the camera directly into your local router or plug into a network switch that is connected to your local router.
Additionally, we recommend connecting your camera to a preview monitor via its HDMI or SDI output to view the camera’s IP settings on the monitor screen.
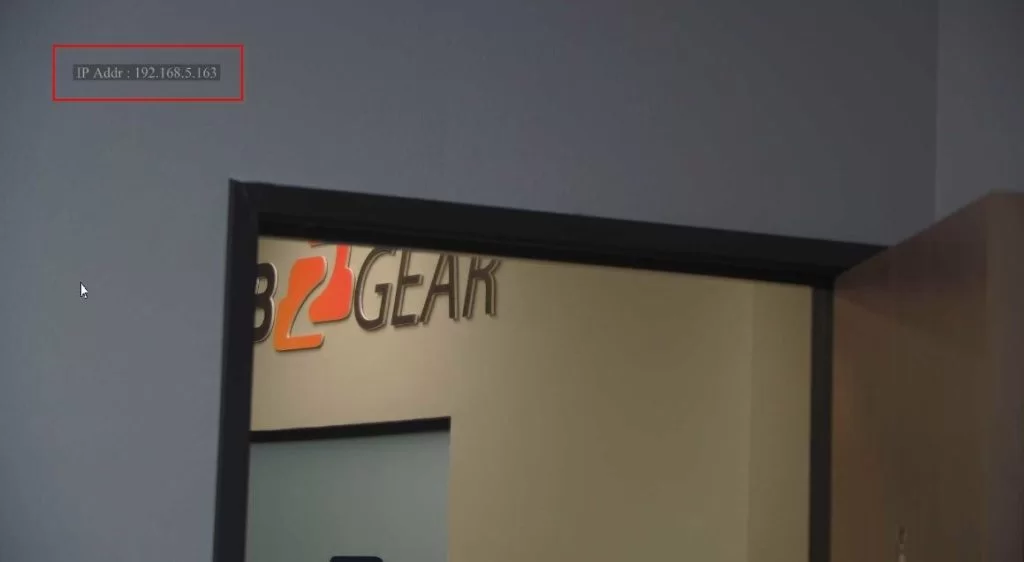
Power on the camera with either PoE (Power over Ethernet) or with the 12v power supply. Once the camera turns on, the default IP address of the BG-ADAMO (192.168.5.163) will display at the top left corner of your preview monitor for first 10 seconds:
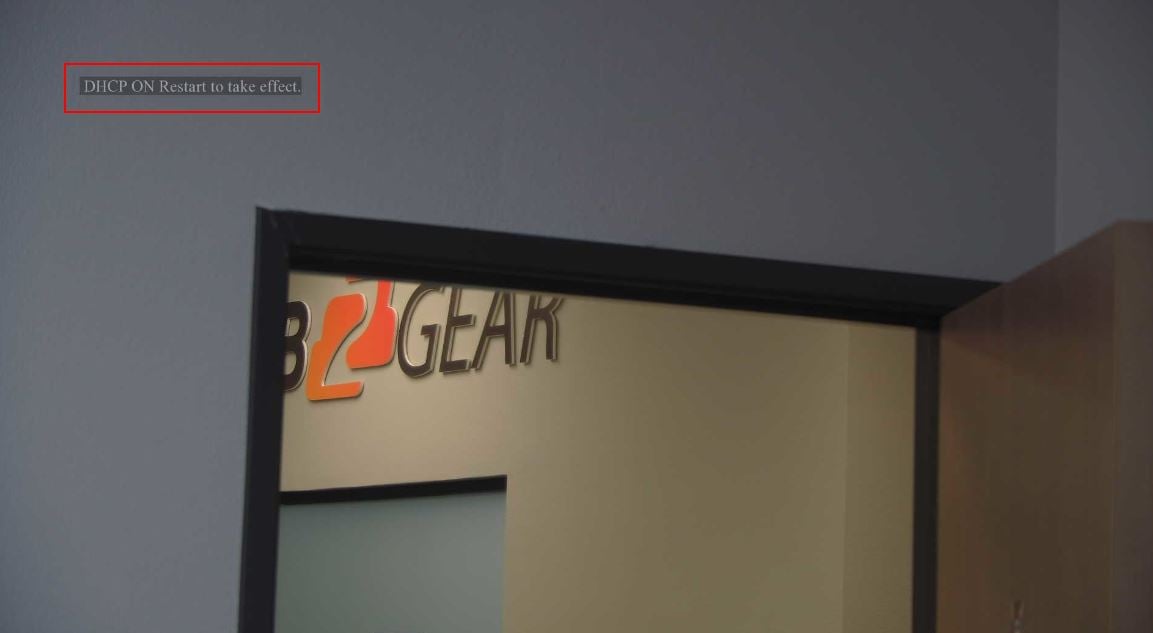
 With camera’s IR remote, push the following command sequence to turn on the DHCP mode: **1.
Once DHCP is enabled, the camera will obtain an IP address from your local DHCP server after a camera reboot:
With camera’s IR remote, push the following command sequence to turn on the DHCP mode: **1.
Once DHCP is enabled, the camera will obtain an IP address from your local DHCP server after a camera reboot:
 To easily restart the camera, use the following command sequence with the IR remote: **4
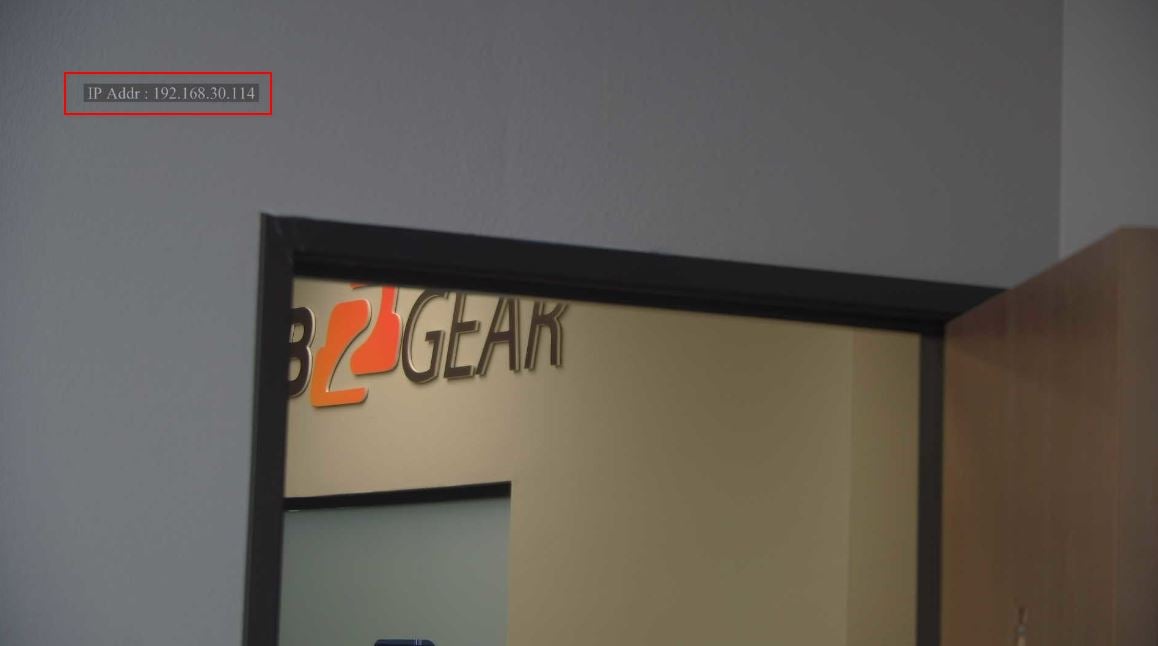
Once the camera reboots, your NEW IP address of your camera will now display at the top left of your monitor screen. This IP address should match the same subnet of your local network. For our example in the photo below, our local network subnet is 192.168.30.x. Therefore, our local server assigned an open IP address of 192.168.30.114 to our camera:
To easily restart the camera, use the following command sequence with the IR remote: **4
Once the camera reboots, your NEW IP address of your camera will now display at the top left of your monitor screen. This IP address should match the same subnet of your local network. For our example in the photo below, our local network subnet is 192.168.30.x. Therefore, our local server assigned an open IP address of 192.168.30.114 to our camera:
 *Your local camera IP address should be different from the example above
Once the IP address is assigned to your camera, we recommend turning the DHCP mode off and leaving your new IP address static so it will not change or get reassigned.
To turn off DHCP, use the following command sequence with the IR remote: **2
Once again you will need to reboot the camera with the IR remote for this to take effect: **4
*Your local camera IP address should be different from the example above
Once the IP address is assigned to your camera, we recommend turning the DHCP mode off and leaving your new IP address static so it will not change or get reassigned.
To turn off DHCP, use the following command sequence with the IR remote: **2
Once again you will need to reboot the camera with the IR remote for this to take effect: **4
 Once the camera reboots, again, the same local IP address of your camera will display at the top left of your monitor.
We recommend writing down your current IP address. Also, you can re-display the current IP address of your camera with the following IR remote command sequence: **3
Now you can easily access the webGUI of your BG-ADAMO camera with its current IP address. Type in the IP address of YOUR camera to the address bar of your web brower, hit “enter” and the login screen for your BG-ADAMO will pop-up:
Once the camera reboots, again, the same local IP address of your camera will display at the top left of your monitor.
We recommend writing down your current IP address. Also, you can re-display the current IP address of your camera with the following IR remote command sequence: **3
Now you can easily access the webGUI of your BG-ADAMO camera with its current IP address. Type in the IP address of YOUR camera to the address bar of your web brower, hit “enter” and the login screen for your BG-ADAMO will pop-up:
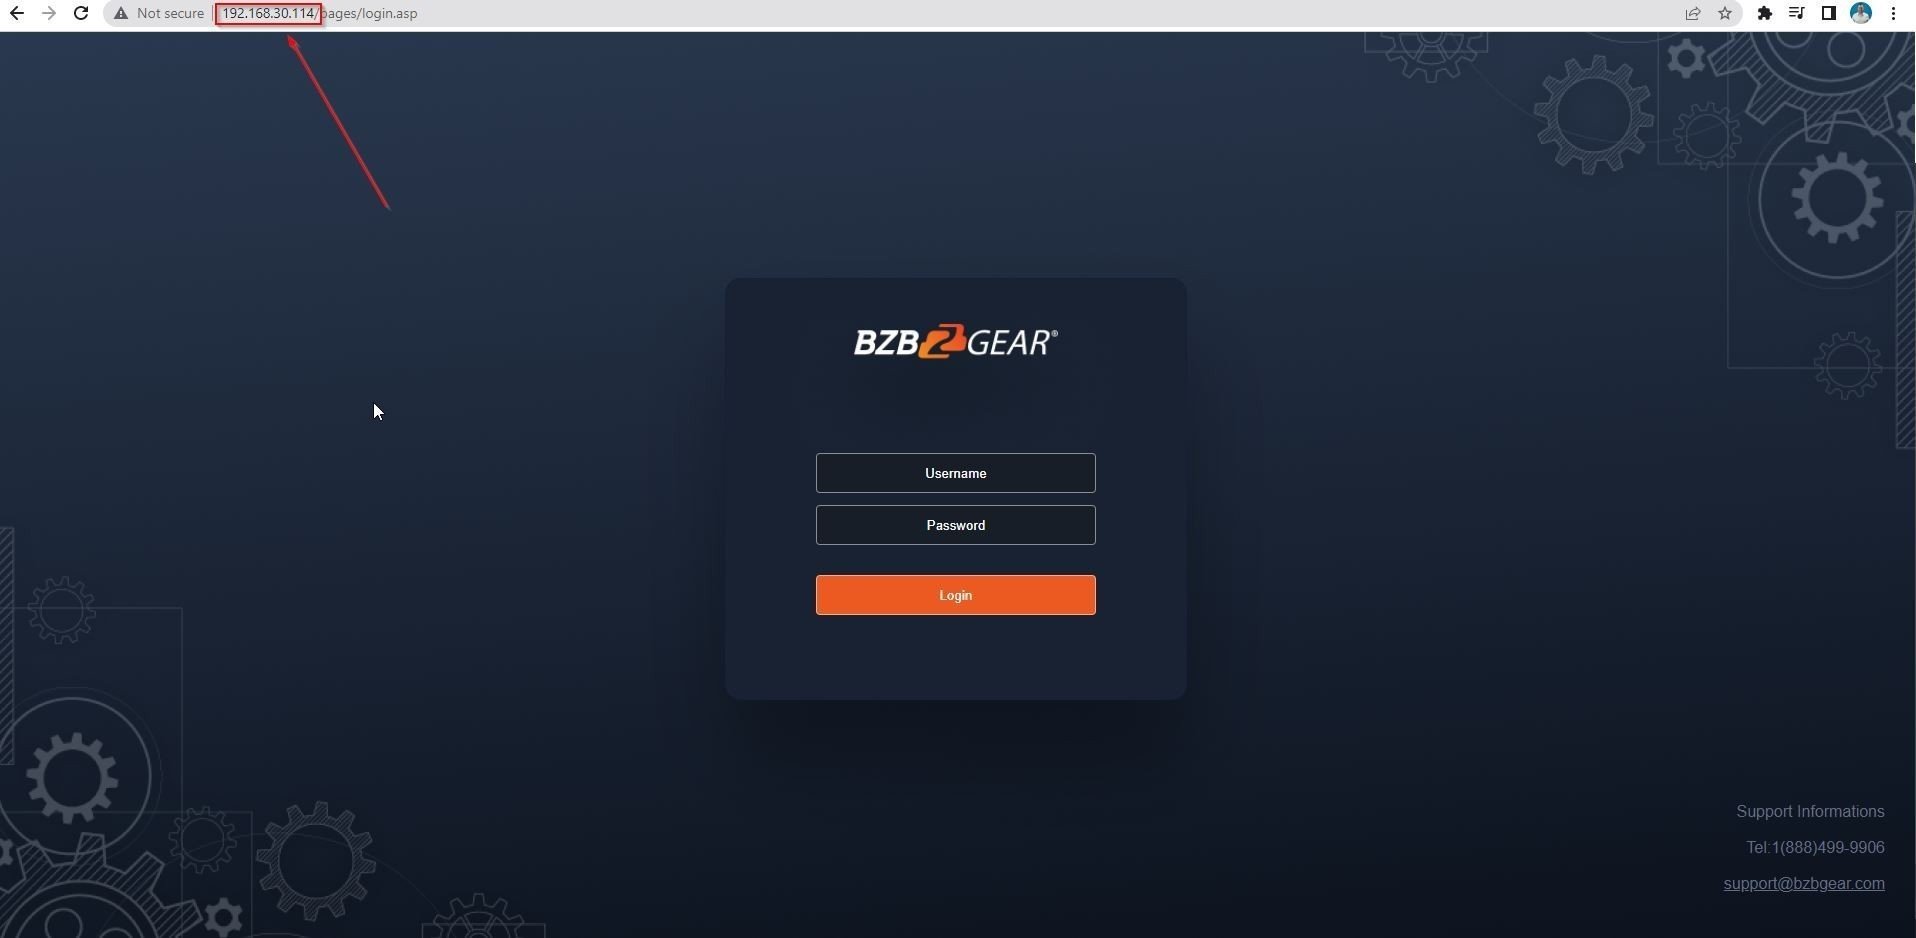 *In this example, reminder your IP address will be different depending on your local network
To login:
Username: admin
Password: admin
Now your camera has been networked to your local network and you can access its webGUI anytime when connected locally. Hooray!
Lastly, here’s a recap of the step by step and their IR remote commands:
*In this example, reminder your IP address will be different depending on your local network
To login:
Username: admin
Password: admin
Now your camera has been networked to your local network and you can access its webGUI anytime when connected locally. Hooray!
Lastly, here’s a recap of the step by step and their IR remote commands:
With camera’s IR remote, push the following command sequence to turn on the DHCP mode: **1.
Once DHCP is enabled, the camera will obtain an IP address from your local DHCP server after a camera reboot:
To easily restart the camera, use the following command sequence with the IR remote: **4
Once the camera reboots, your NEW IP address of your camera will now display at the top left of your monitor screen. This IP address should match the same subnet of your local network. For our example in the photo below, our local network subnet is 192.168.30.x. Therefore, our local server assigned an open IP address of 192.168.30.114 to our camera:
*Your local camera IP address should be different from the example above
Once the IP address is assigned to your camera, we recommend turning the DHCP mode off and leaving your new IP address static so it will not change or get reassigned.
To turn off DHCP, use the following command sequence with the IR remote: **2
Once again you will need to reboot the camera with the IR remote for this to take effect: **4
Once the camera reboots, again, the same local IP address of your camera will display at the top left of your monitor.
We recommend writing down your current IP address. Also, you can re-display the current IP address of your camera with the following IR remote command sequence: **3
Now you can easily access the webGUI of your BG-ADAMO camera with its current IP address. Type in the IP address of YOUR camera to the address bar of your web brower, hit “enter” and the login screen for your BG-ADAMO will pop-up:
*In this example, reminder your IP address will be different depending on your local network
To login:
Username: admin
Password: admin
Now your camera has been networked to your local network and you can access its webGUI anytime when connected locally. Hooray!
Lastly, here’s a recap of the step by step and their IR remote commands:
- Turn DHCP On: **1
- Reboot Camera: **4
- Turn DHCP Off: **2
- Reboot Camera: **4
Get insider
updates & offers
Learn more
Get insider updates and offers
Join our vibrant community of BZBGEAR insiders today and unlock a world of exclusive updates, irresistible offers, and invaluable education.
Sales Inquiries
Leave your phone number, and one of our specialists will reach out to you shortly.
Call Us
Technical support
Monday - Friday
8.00 a.m. - 5.00 p.m. (PST)
8.00 a.m. - 5.00 p.m. (PST)
Saturday - Sunday
10.00 a.m. - 3.00 p.m. (PST)
(by appointment only)
10.00 a.m. - 3.00 p.m. (PST)
(by appointment only)
Phone & Email Support

